DECAN_F2_Service(Eng_Ver1).pdf - 第217页
10-3 Y-Axis Frame 5) Remove the Cable that is co nnected to the Linear Motor . 6) Unscrew the fixing bolts (7- M5*15)securi ng the Linear Motor using a wrench and remove it. 7) Assemble in the X Fame a new Linear Motor .…
10-2
Fast & Flexible Chip Shooter DECAN F2 Service Manual
10.1.3. Linear Motor Replacement Procedure
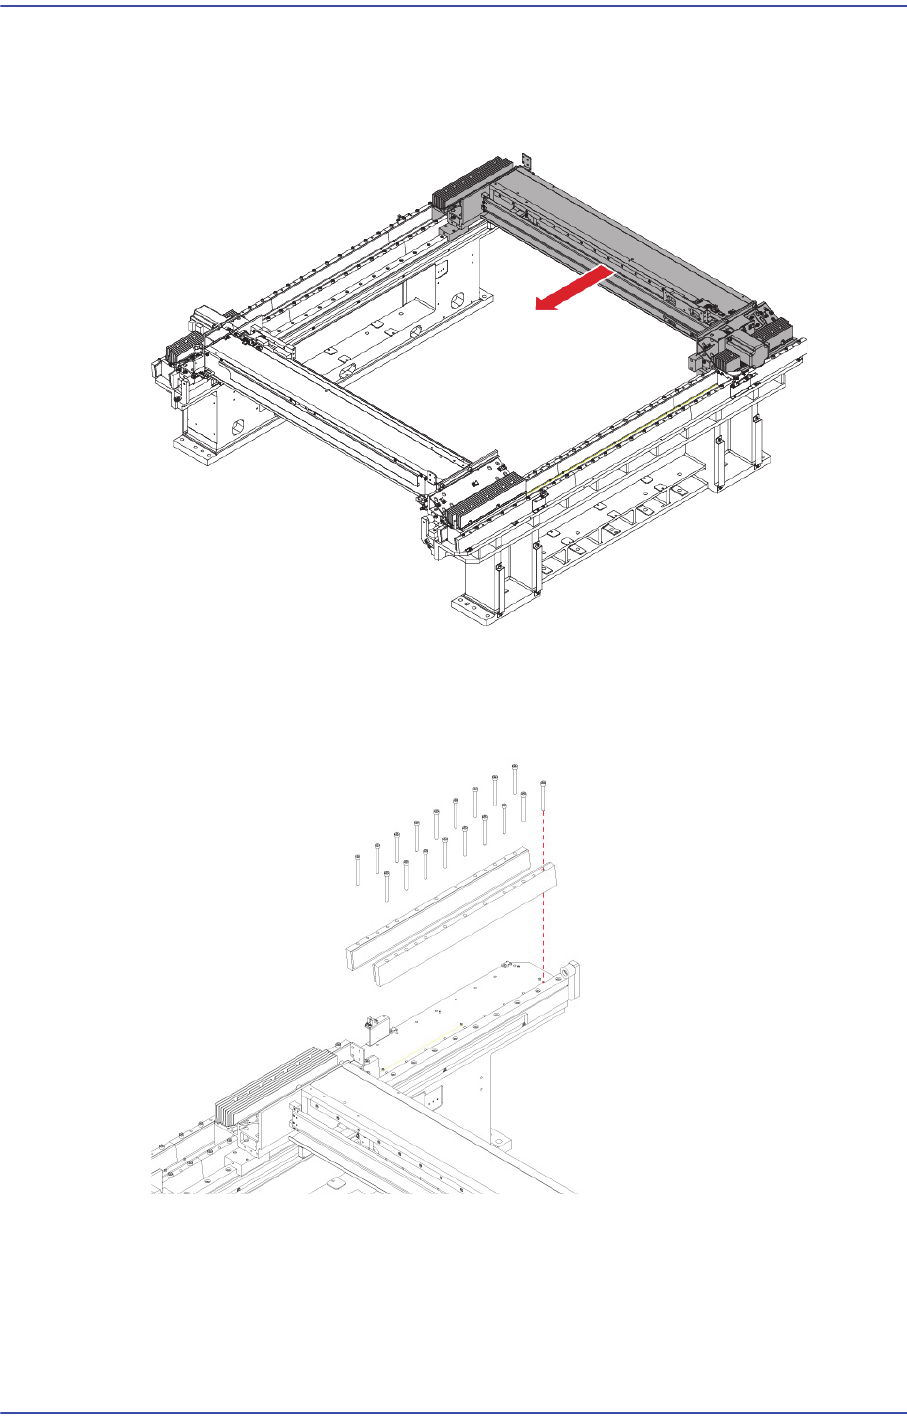
1) Move the X Frame of the Linear Motor to be replaced to the center of the
machine. (Example: Linear Motor at the rear left.)
2) Turn Off the PC in normal way. Then turn off the main switch on the front side of the
machine.
3) Unscrew the fixing bolts (18-6*65)securing the Magnet using a wrench and remove it.
4) Push the X Frame manually to move it to the position where the linear motor magnet
has been removed.
10-3
Y-Axis Frame
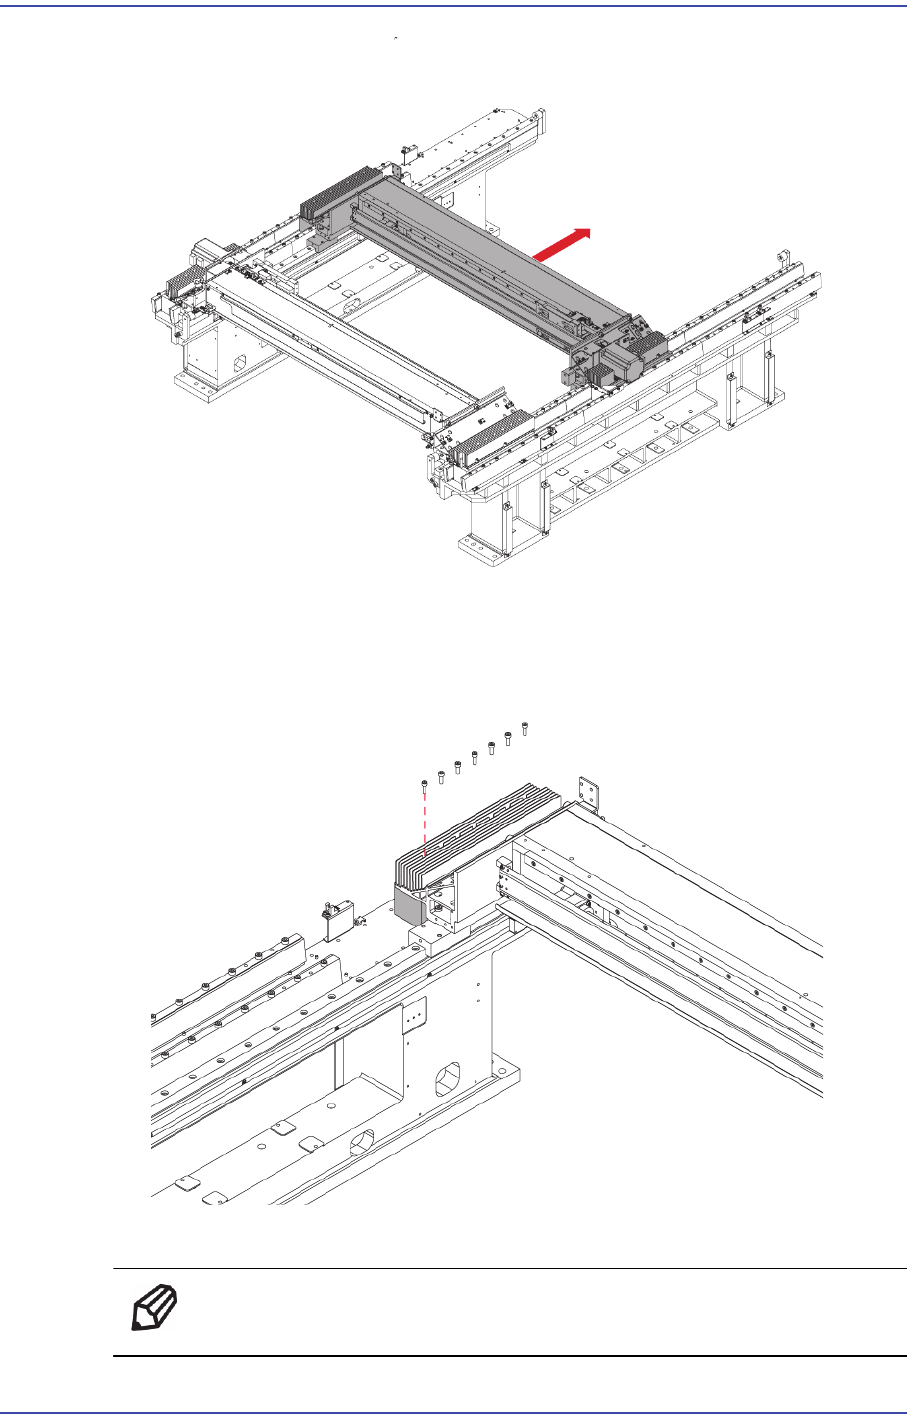
5) Remove the Cable that is connected to the Linear Motor.
6) Unscrew the fixing bolts (7-M5*15)securing the Linear Motor using a wrench and
remove it.
7) Assemble in the X Fame a new Linear Motor.
Ref The part number of the new Linear Motor is EP08-000198.
10-4
Fast & Flexible Chip Shooter DECAN F2 Service Manual
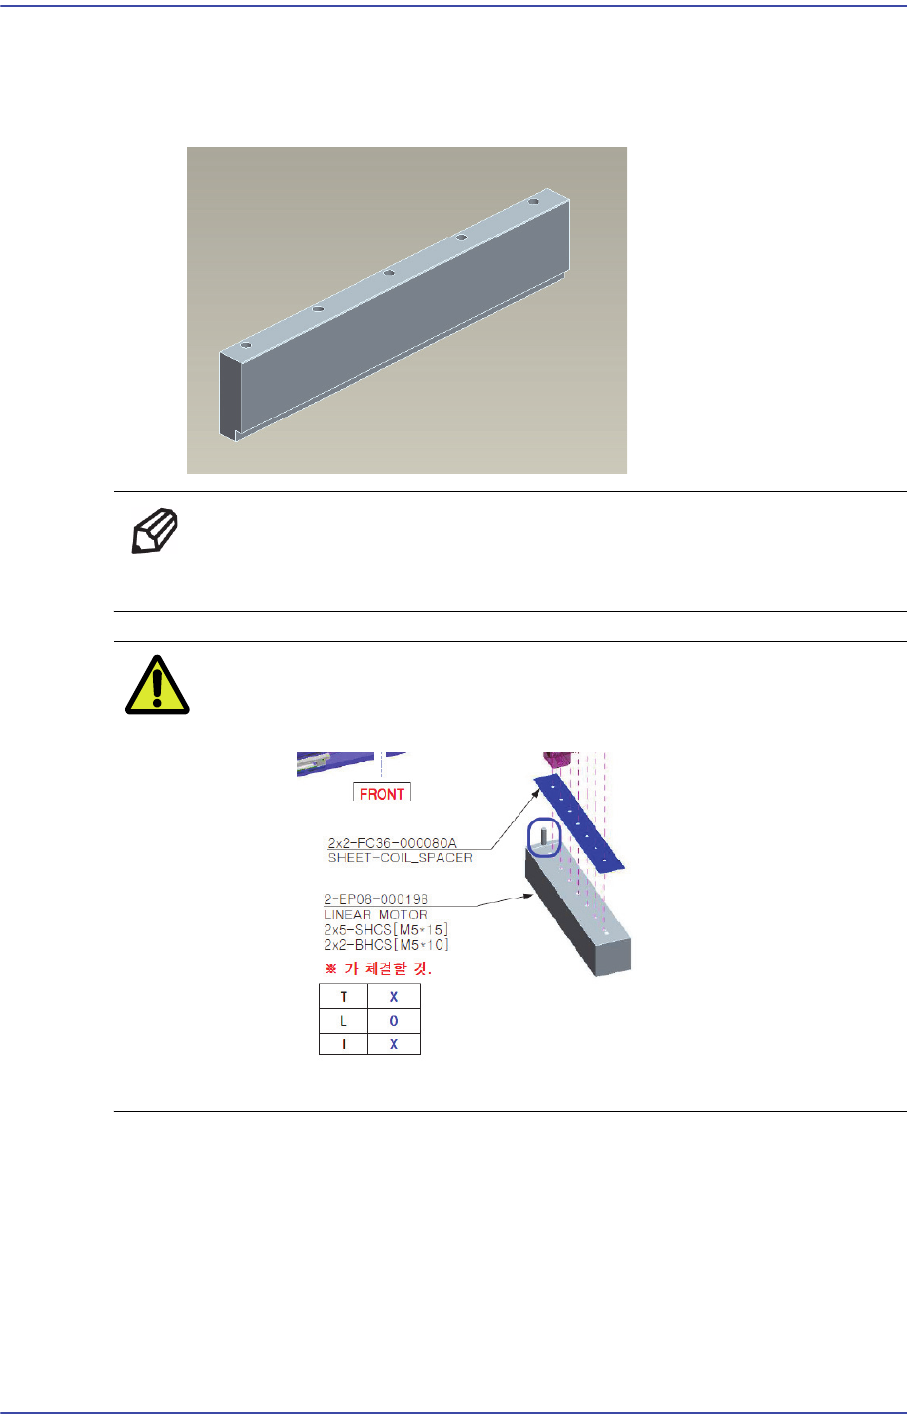
Use the Y Motor Coil assembly at JIG.
Assemble the Y motor magnet with the PIN being in tight contact with the top
surface of the Y frame.
Ref The part number of the jig used for the Y motor coil is TO04-
000612A.
Caution When assembling the linear scale, exercise care so that
insulation material is not left out.
8) The assembling is performed in the reverse order of disassembling. Turn on the main
switch on the front side of the machine and boot the PC once the assembling is
completed.
9) Perform the following calibrations.
Axis Home Calibration
Common X-Y (1'st)