DECAN_F2_Service(Eng_Ver1).pdf - 第93页
4-5 X Frame 4) In order to remov e the cushion, unscrew the fi xing screws and remove th e snap ring assembled to the ball screw using snap ring pliers. 5) Remove the set screws (No1) of the co upling that connects the C…
4-4
Fast & Flexible Chip Shooter DECAN F2 Service Manual
4.2. Ball Screw
4.2.1. Required Tools
T wrench (other tools supplied) or hex wrench
Gear wrench or torque wrench
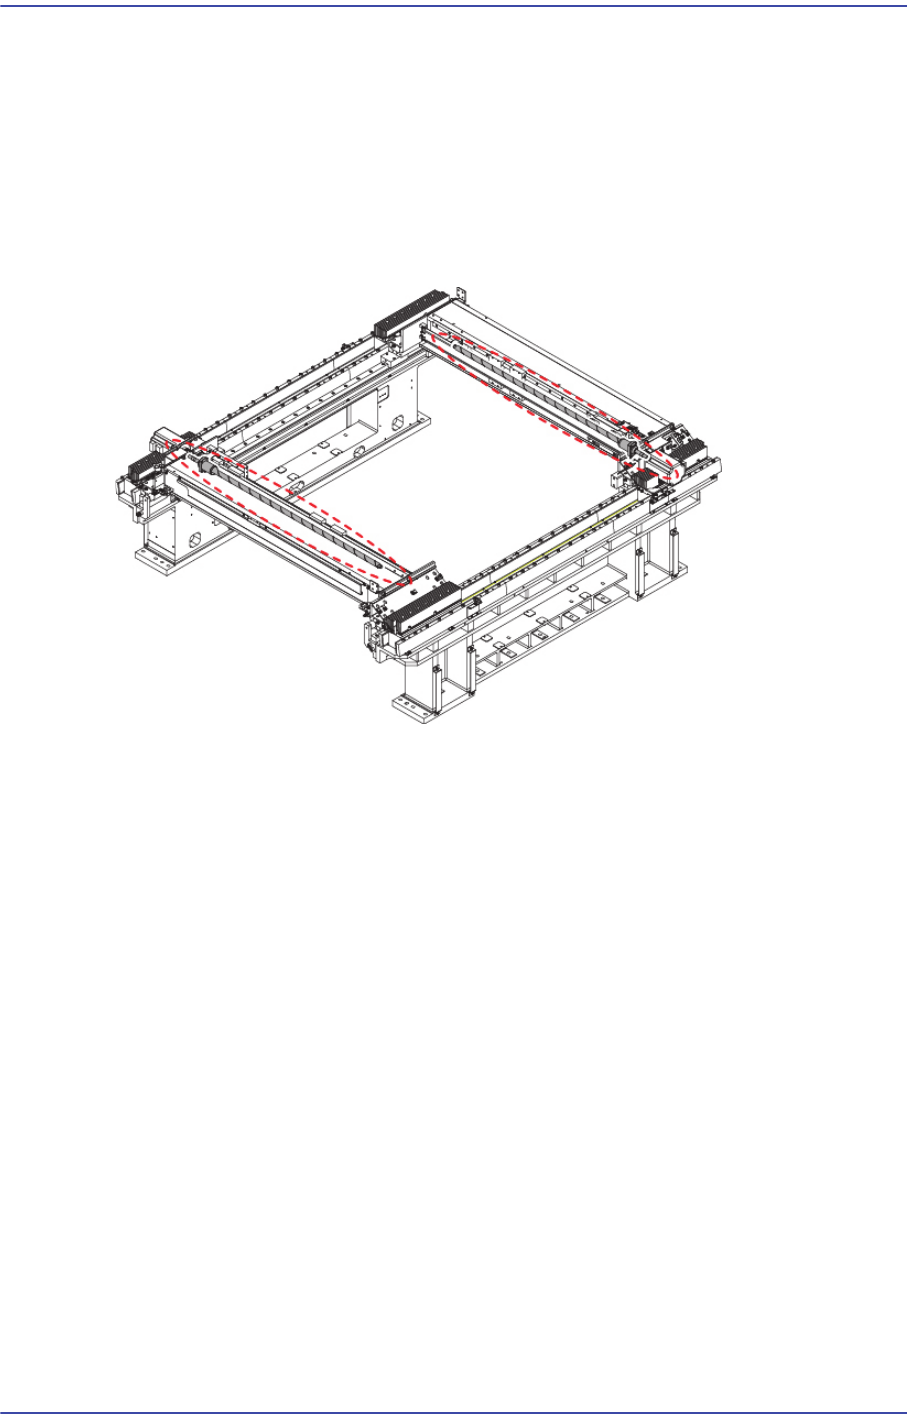
4.2.2. Position of Ball Screw
4.2.3. Ball Screw Replacement Procedure
1) Manipulate the teaching box to move the X Frame to the front.
2) Close the PC as usual and turn off the main switch at the front of the machine.
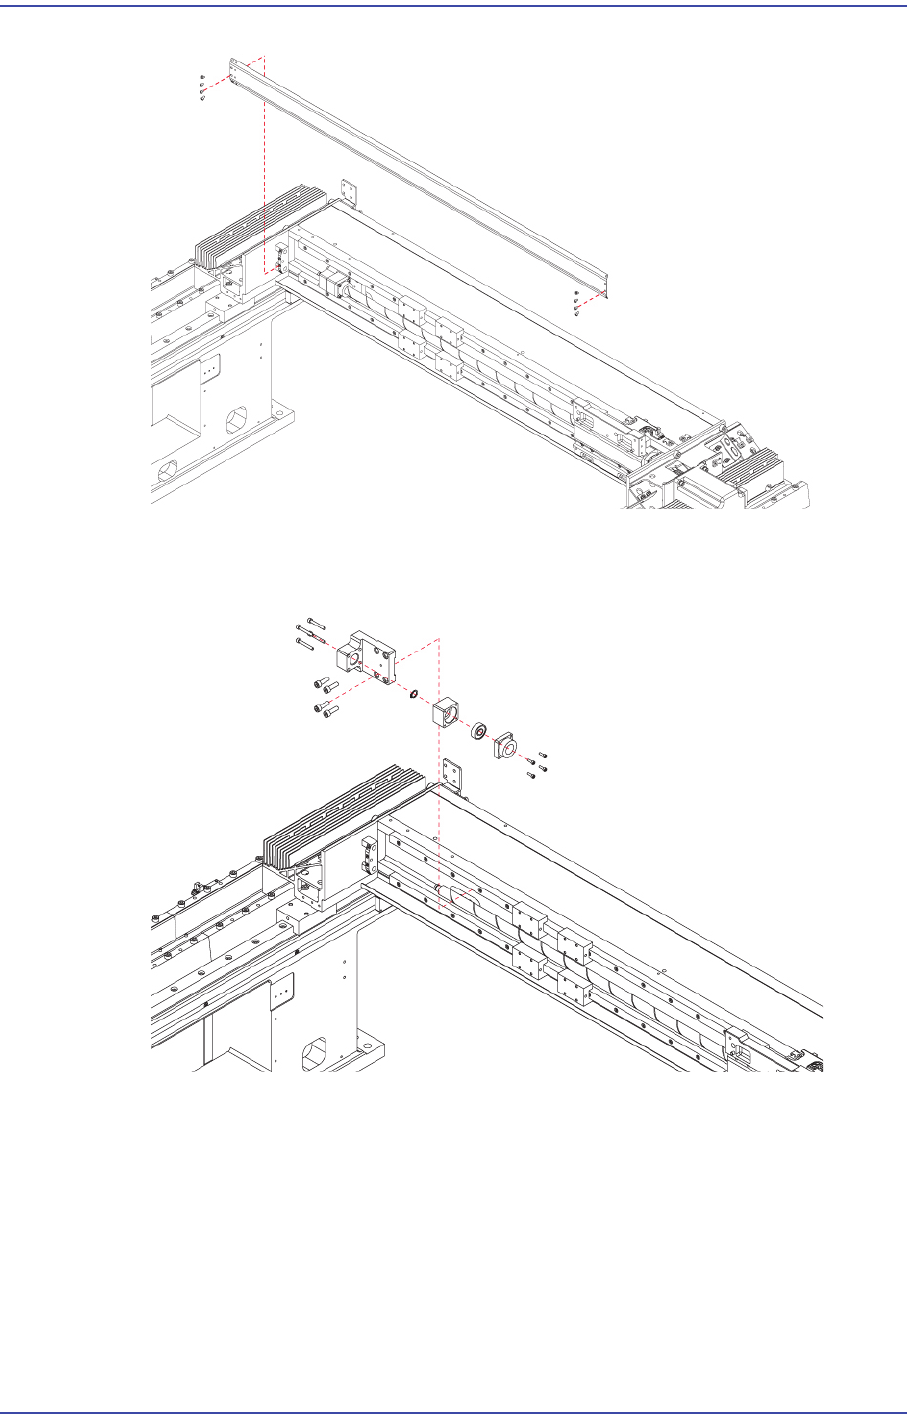
3) Unscrew the fixing bolts(8-M3*5) securing the Ball Screw Cover and remove Ball
Screw Cover.
4-5
X Frame
4) In order to remove the cushion, unscrew the fixing screws and remove the snap ring
assembled to the ball screw using snap ring pliers.
5) Remove the set screws (No1) of the coupling that connects the Coupling and ball
screw.
4-6
Fast & Flexible Chip Shooter DECAN F2 Service Manual
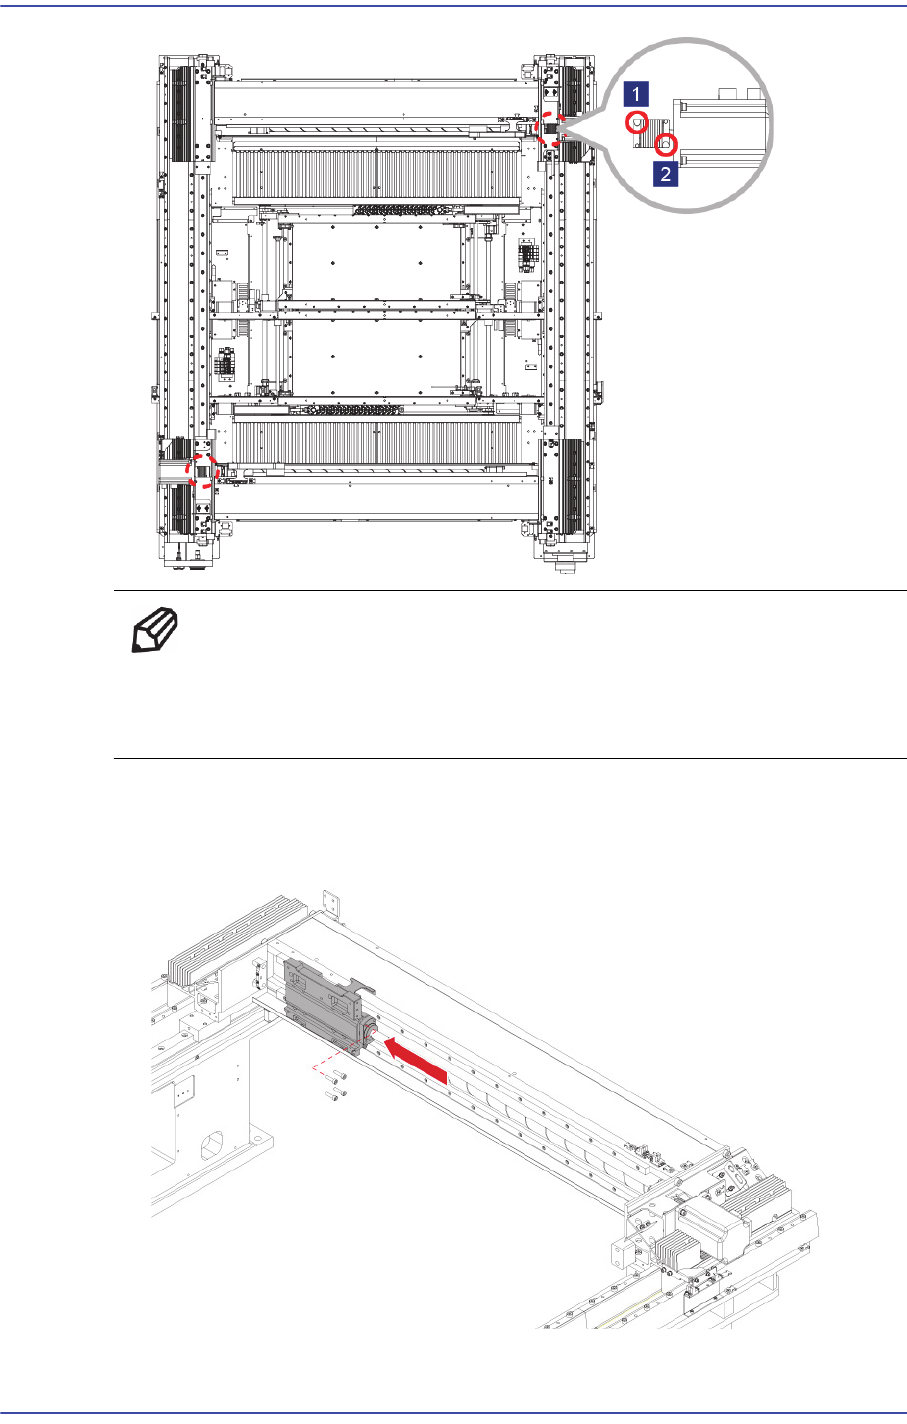
Ref When replacing only the X-axis motor, remove only the set
screw(No2) near the motor and when replacing only the ball screw,
remove only the set screw(No1) near the ball screw.
6) After moving the Head Base as far as possible to the left, unscrew the ball screw as
well as the Head Base fixing bolts (4-M5*20) to remove the head base.