DECAN_F2_Service(Eng_Ver1).pdf - 第70页
3-8 Fast & Flexible Chip Shooter DECAN F2 Service Manual 2) Install the monitor using a hex wrench. 3) Install the Keyboard, Mouse
3-7
Installation & Operation
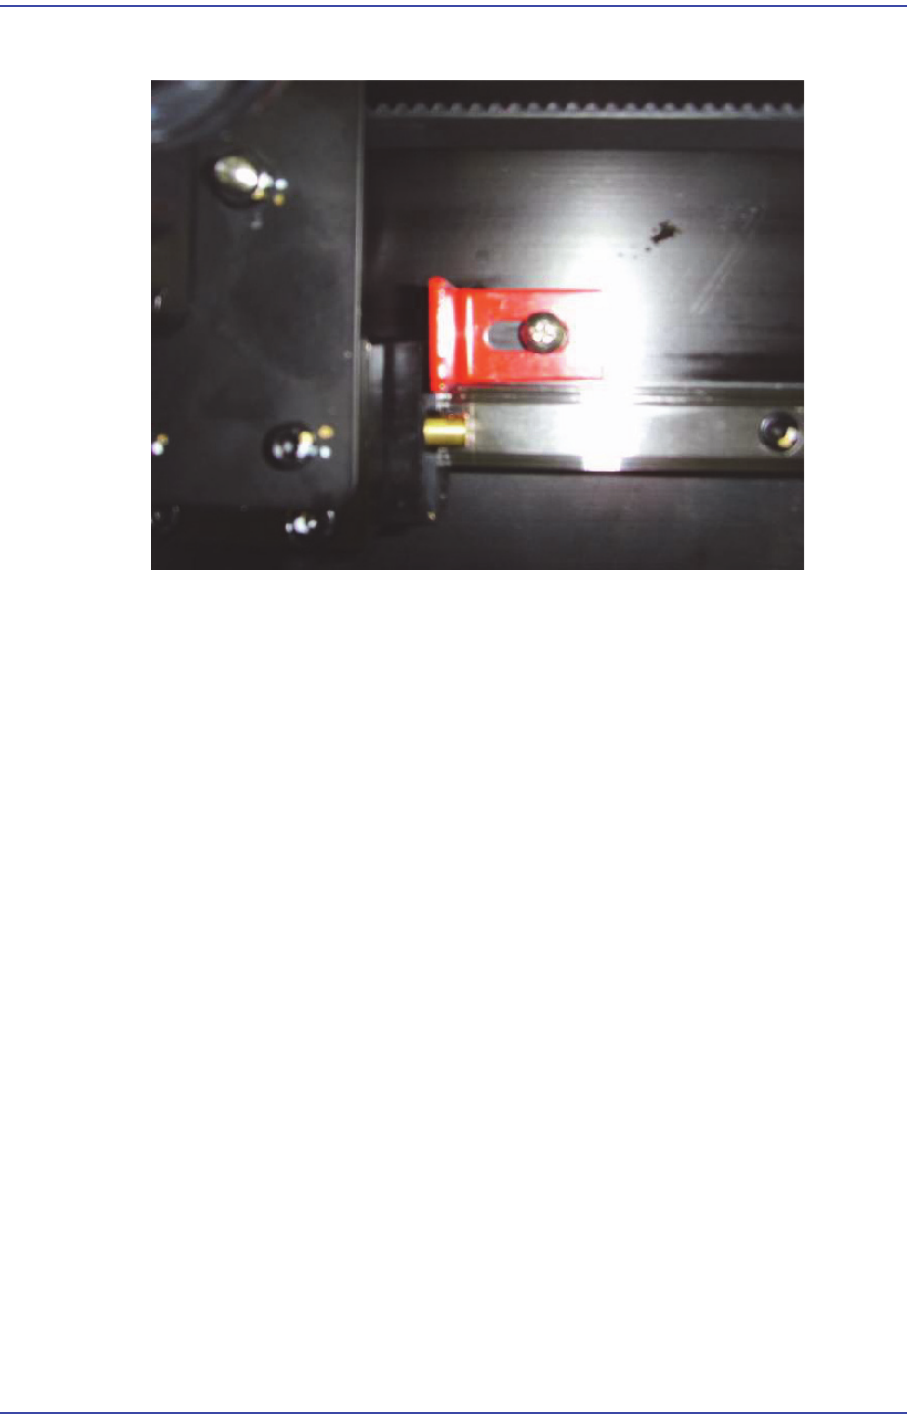
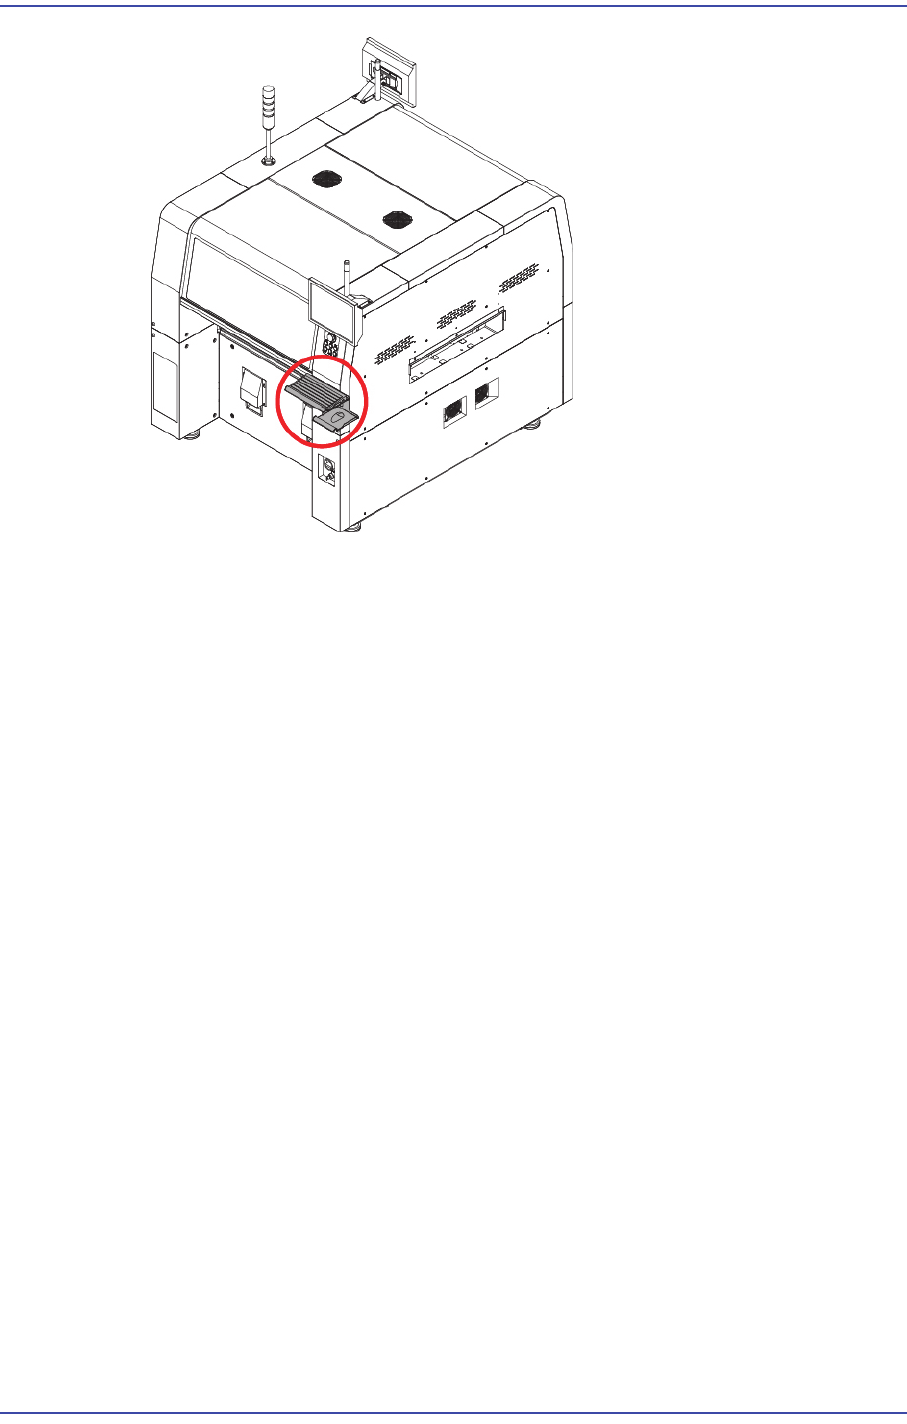
9) Remove the Shuttle fixing bracket.
3.1.4. Installation of Parts
3.1.4.1. Required Tools
T wrench (other tools supplied) or hex wrench
Gear wrench or torque wrench
Crosshead (Phillips) screwdriver and flathead screwdriver
3.1.4.2. Part List
Signal Light
Mouse, Mouse Pad
Keyboard
Monitor Bracket, Monitor
3.1.4.3. Part Installation Procedure
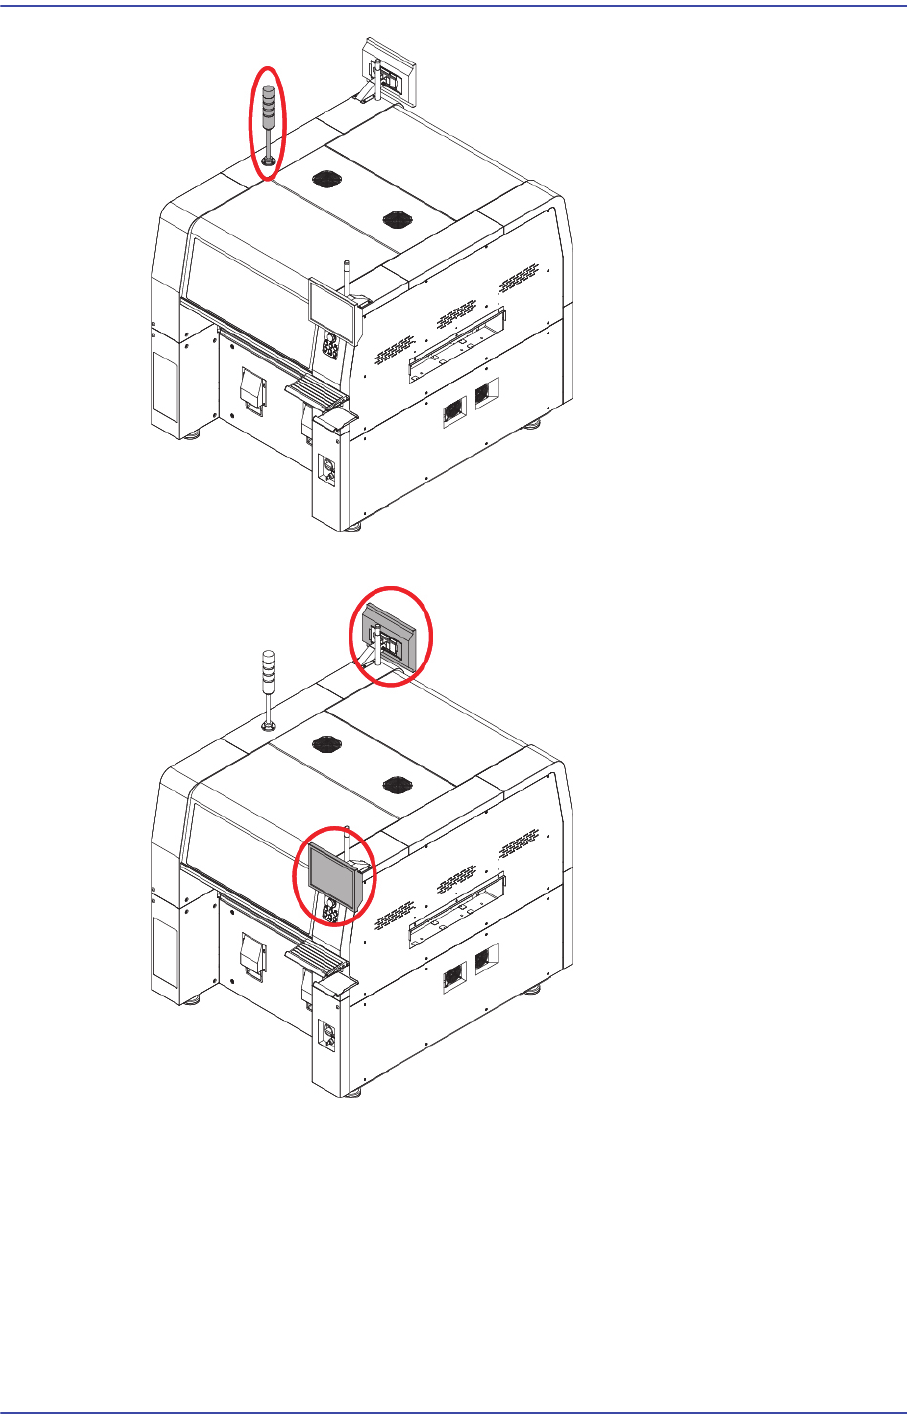
1) Connect the connector at the center inside the machine and signal light connector and
secure the signal light at the center on the upper surface with fixing bolts.
3-8
Fast & Flexible Chip Shooter DECAN F2 Service Manual
2) Install the monitor using a hex wrench.
3) Install the Keyboard, Mouse
3-9
Installation & Operation
3.1.5. Power Connection
1) Check the temperature at the where the machine is installed using the temperature
gauge.
(Recommended temperature: 24 ± 4˚C)
(Allowable range: +10˚C ~ +35˚C)
2) Check the power supply voltage at the place where the machine is installed.
Ex) 3 Phase 200, 208, 220, 240, 380, 415V
3) After checking the power supply to the place where the machine is being installed,
check whether the measured voltage is normal or not using a digital multimeter.
4) Open the Right Cover using a wrench.