00195982-03_SM_SWS_EN.pdf - 第88页
5 Basic frame – X/Y unit 5.3 Replacing parts 88 Service Manual SIPLACE Wafer System (SWS) 11/2018 Fig.79: ► Remove the four Allen key fastening screws (not the Phillips screws) from the coupling plate, together with the…
5 Basic frame – X/Y unit
5.3 Replacing parts
Service Manual SIPLACE Wafer System (SWS) 11/2018 87
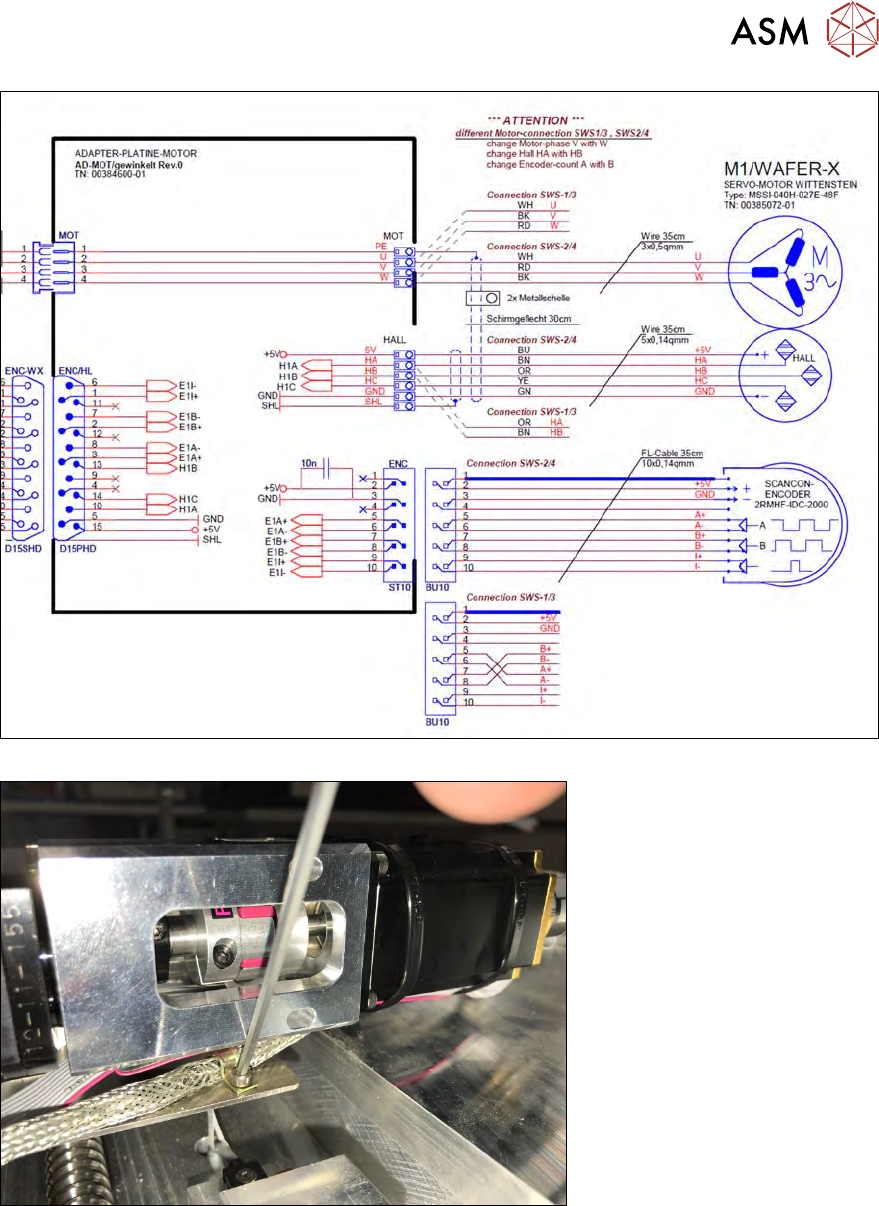
Fig.77:
Fig.78:
► Carefully loosen the cable downholder under the X motor coupling plate.
Due to the lack of space, you will need to work with the ball head of an Allen key.
Take care not to damage the screw!
► Do not fully remove the cable downholder screw. Swivel the cable downholder away from the
shielding cable.
5 Basic frame – X/Y unit
5.3 Replacing parts
88 Service Manual SIPLACE Wafer System (SWS) 11/2018
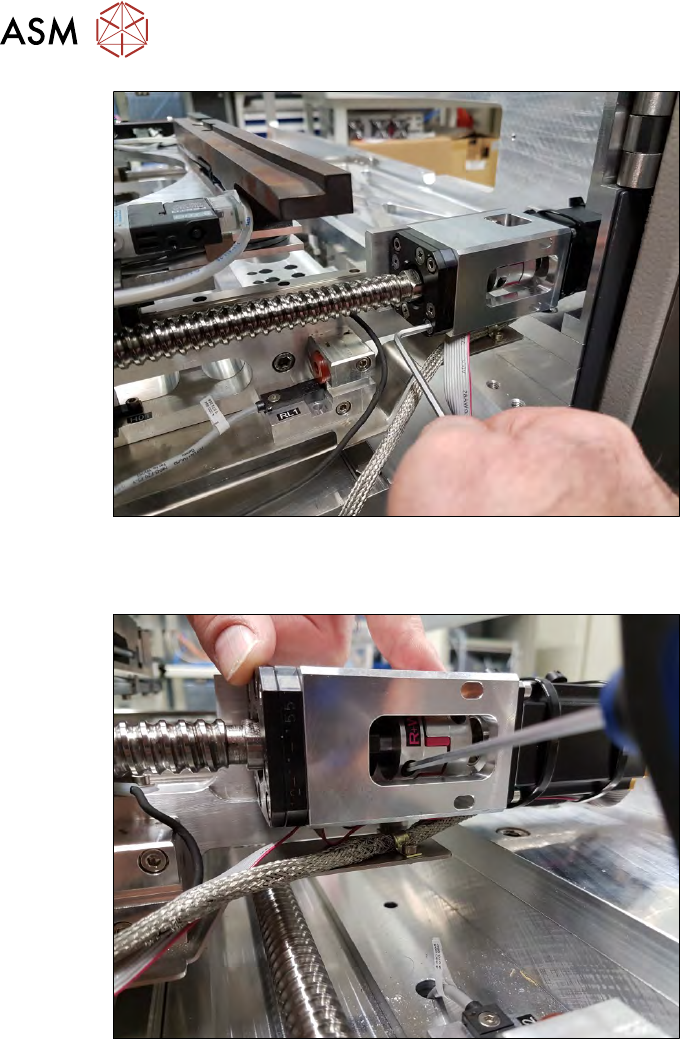
Fig.79:
► Remove the four Allen key fastening screws (not the Phillips screws) from the coupling plate,
together with the spindle plate.
Fig.80:
► Remove the two clamping screws from the coupling.
5 Basic frame – X/Y unit
5.3 Replacing parts
Service Manual SIPLACE Wafer System (SWS) 11/2018 89
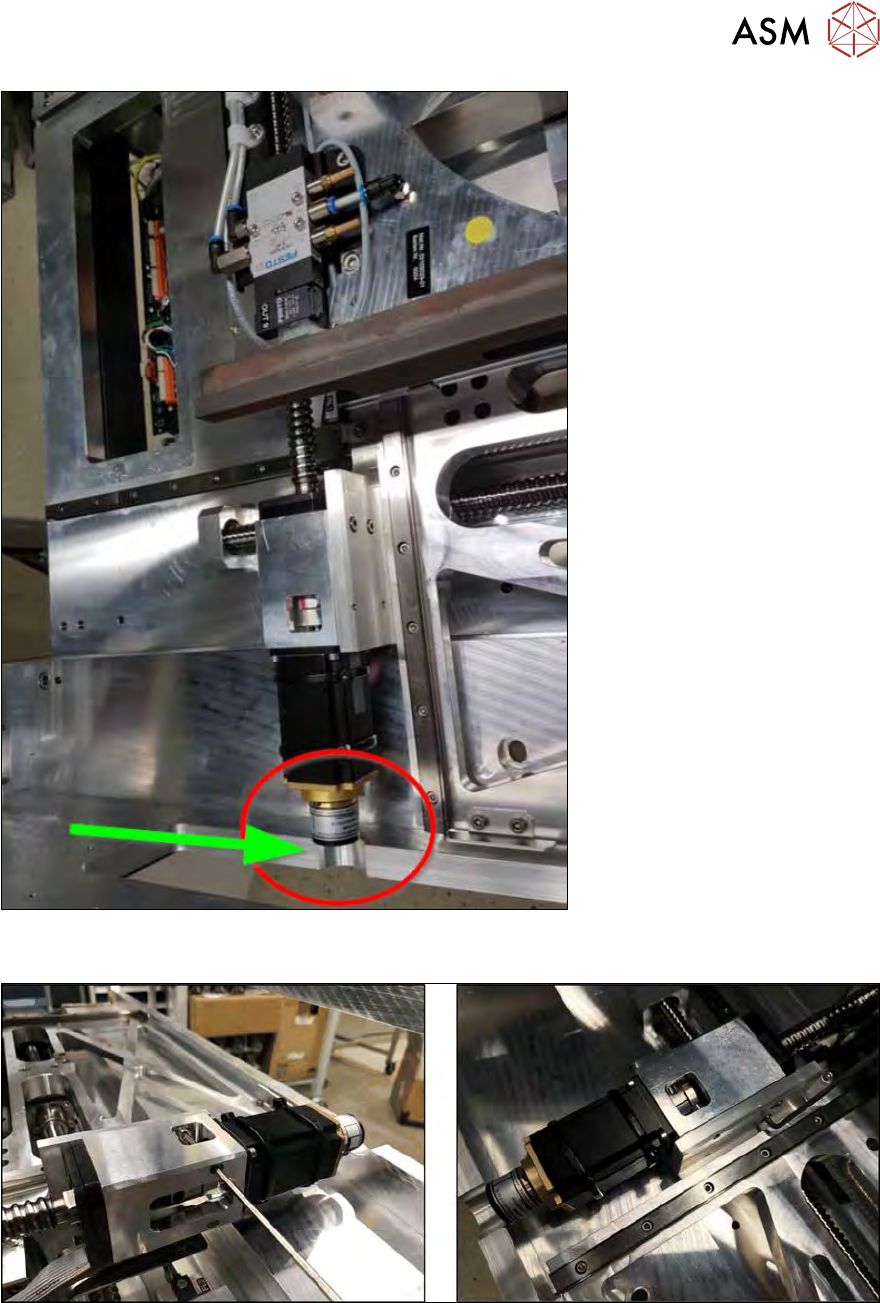
Fig.81:
► Move the wafer table until the X motor is level with the semicircular recess in the side frame.
Fig.82:
► Now remove the two screws fastening the front of the coupling housing.
► Remove the two fastening screws on the back with a short (modified) Allen key.