RS-1_instruction manual.pdf - 第107页
Part 1 B asic O peration Chapter 1 Overv iew of the Machine 1- 89 Save I mage Data This is the fun ction for sav ing into a USB me m ory de vice or other device an er ror image fi le obtained by pressing the <Get imag…
Part 1 Basic Operation Chapter 1 Overview of the Machine
1-88
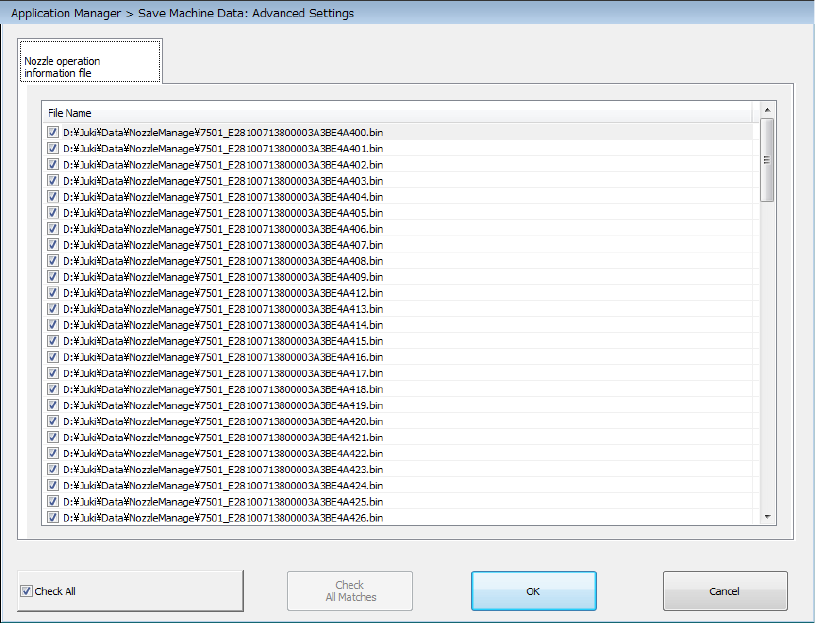
The checked nozzle operation information files are acquired, and then saved.
When you check off the “Check All” check box, the system checks off all displayed items.
When you clear this check box, checkmarks are erased from all displayed items.
By default, checkmarks are put in the check boxes of all nozzle operation information files.
The <OK> button closes the “Save Machine Data: Advanced Settings” dialog box.
The <Cancel> button closes the dialog box without making settings of the “Save Machine Data:
Advanced Settings” dialog box.
Part 1 Basic Operation Chapter 1 Overview of the Machine
1-89
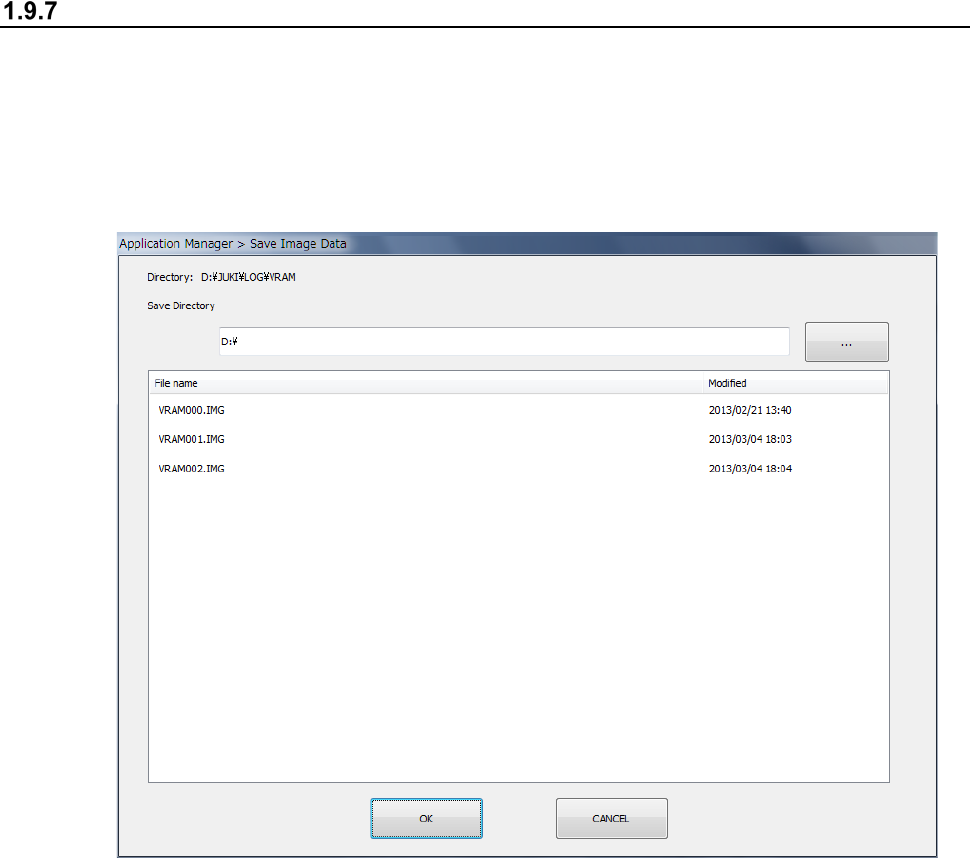
Save Image Data
This is the function for saving into a USB memory device or other device an error image file
obtained by pressing the <Get image data> button while PWB production is stopped temporarily or
that output from the “Error Detail” dialog box displayed when the system stops temporarily due to a
mark recognition error.
① When you select the “Arrange” button from the main menu, and then the [Save Image Data]
command, the “Save Image Data” dialog box appears on the screen.
② Press the <…> button to specify the destination to save a file.
③ When you press the <OK> button, the image data is saved in the specified location. The
dialog box shown above disappears automatically after the data is saved.
④ To quit the dialog box without saving any image data, press the <Cancel> button.
Part 1 Basic Operation Chapter 1 Overview of the Machine
1-90
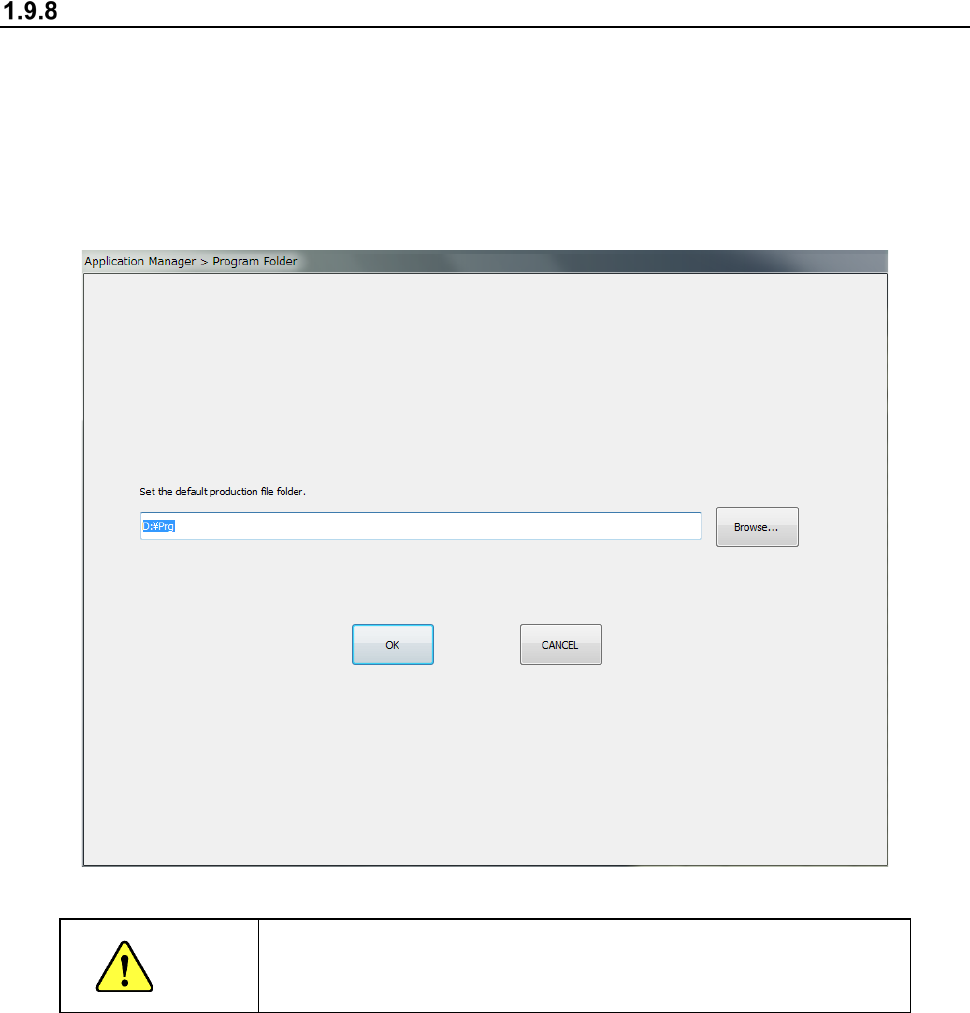
Initial directory for a production program
This command sets up the initial directory (folder) from/to which a production program is to be read /
written.
When you select the “Env Setting” button from the main menu, and then the [Default Folder]
command, the “Program Folder” dialog box appears on the screen. Click the <Browse> command
and select the initial directory from the folder list. Press the <OK> button after selecting an initial
directory.
CAUTION
Do not set any folder on the drive C.
If you set a folder on the drive C, the system displays the error.