RS-1_instruction manual.pdf - 第758页
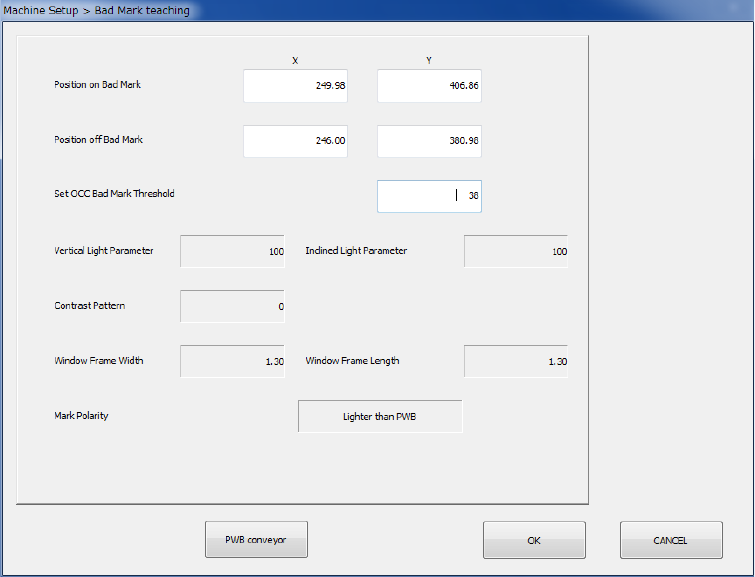
Part 2 D etaile d Descript ion of E ach Functi on Chapter 8 Machine Set up 8- 50 4) After obtainin g a thresh old value after m easure ment, press the < OC C bad mar k informati on > button t o display its result .
Part 2 Detailed Description of Each Function Chapter 8 Machine Setup
8-49
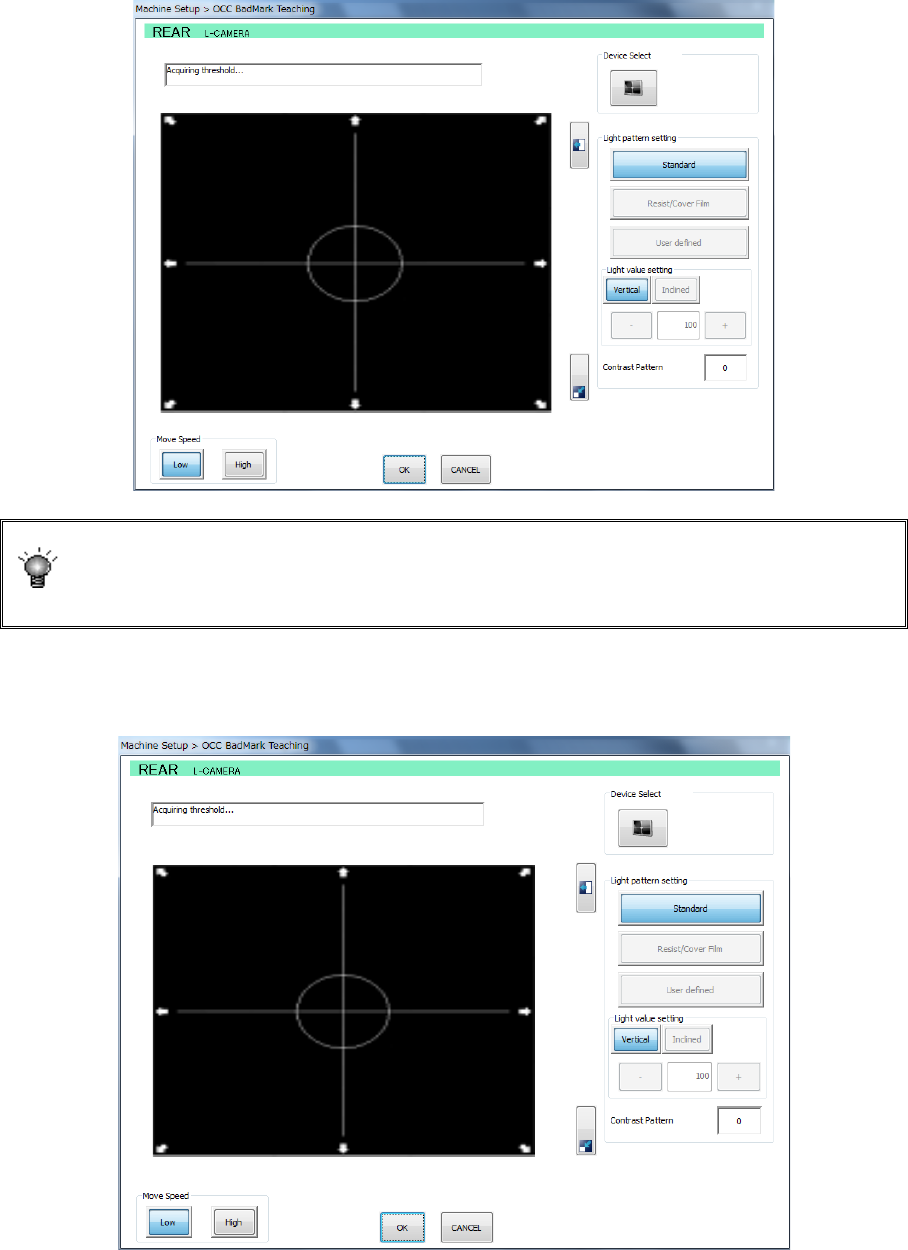
2) After checking the coordinates of the bad mark position, specify the measurement
frames (upper left and lower right). Change the size of the measurement frame by the
direction key on the teaching screen and then press the <ENTER> button to set it
definitively.
If the mark is imaged in black for the board, press the camera button for device
selection. The polarity is changed and the black-imaged mark for the board
becomes white. A changeover of the polarity by camera button is enabled only
when the scale frame is entered.
3) After setting the measurement frame definitively, a threshold value measuring operation
is performed.
The position with a mark and the position without any mark are alternatively recognized.
Part 2 Detailed Description of Each Function Chapter 8 Machine Setup
8-50
4) After obtaining a threshold value after measurement, press the <OCC bad mark
information> button to display its result.

Part 2 Detailed Description of Each Function Chapter 8 Machine Setup
8-51
Super Impose setting
When you select the [Super Impose setting] command, the following screen appears.
When you select this command, you can make various settings of the superimpose screen.
Settings you changed are enabled only after you quit this application utility, save them and start
up the system again.
(1) Setting items
No. Item Description
1
Super Impose
setting
Brightness
A positive value makes the screen brighter,
while a negative value makes it darker.
Contrast
A positive value makes the contrast of the
screen stronger, while a negative value makes
it weaker.
VRAM offset
Set the number of lines of the image area shot
by the camera and recorded in the VRAM to be
offset in the Y direction.
Auto eliminate
time
Set the time up to auto elimination.
(2) How to set
1) Enter each value from the software keyboard.