RS-1_instruction manual.pdf - 第698页
Part 2 D etaile d Descript ion of E ach Functi on Chapter 7 Operation Option 7- 23 7.4.7 Others When you pres s the < Other s> button, the “ product ion other option set ting scr een ” appears. No. Menu item Descri…
Part 2 Detailed Description of Each Function Chapter 7 Operation Option
7-22
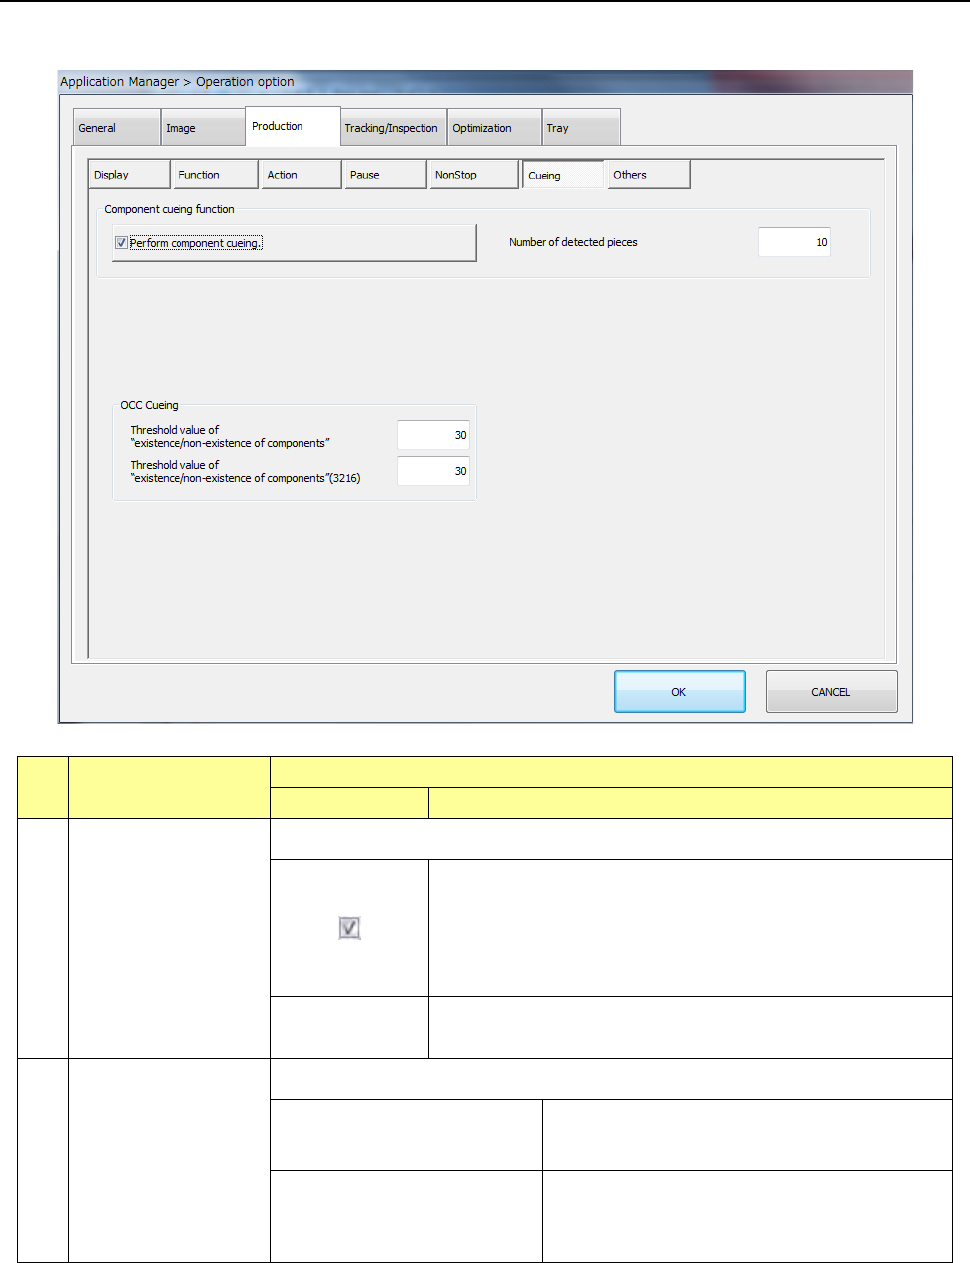
7.4.6 Cueing
When you press the <CUEING> button, the “Component cueing function” setting screen appears.
No. Menu item
Description
Status Operation and detailed explanation
1
Perform component
cueing.
Make settings of the component cueing function.
The cueing buttons become effective on the pick position
teaching screen and the pick tracking (manual feeding) screen
and component cueing can be executed.
In the preparation support (feeder setup), automatic cueing is
enabled.
Number of
detected pieces
Specify the maximum number of components to be checked
when cued.
2
OCC Cueing
Make settings of the cueing function with the OCC camera.
Threshold value of
“existence/non-existence of
components” (OCC cueing)
Set a threshold value for determining whether
there is any component or not.
Threshold value of
“existence/non-existence of
components” (3216) (OCC
cueing)
Set a threshold value for determining whether
there is any 3216 component or not.
Part 2 Detailed Description of Each Function Chapter 7 Operation Option
7-23
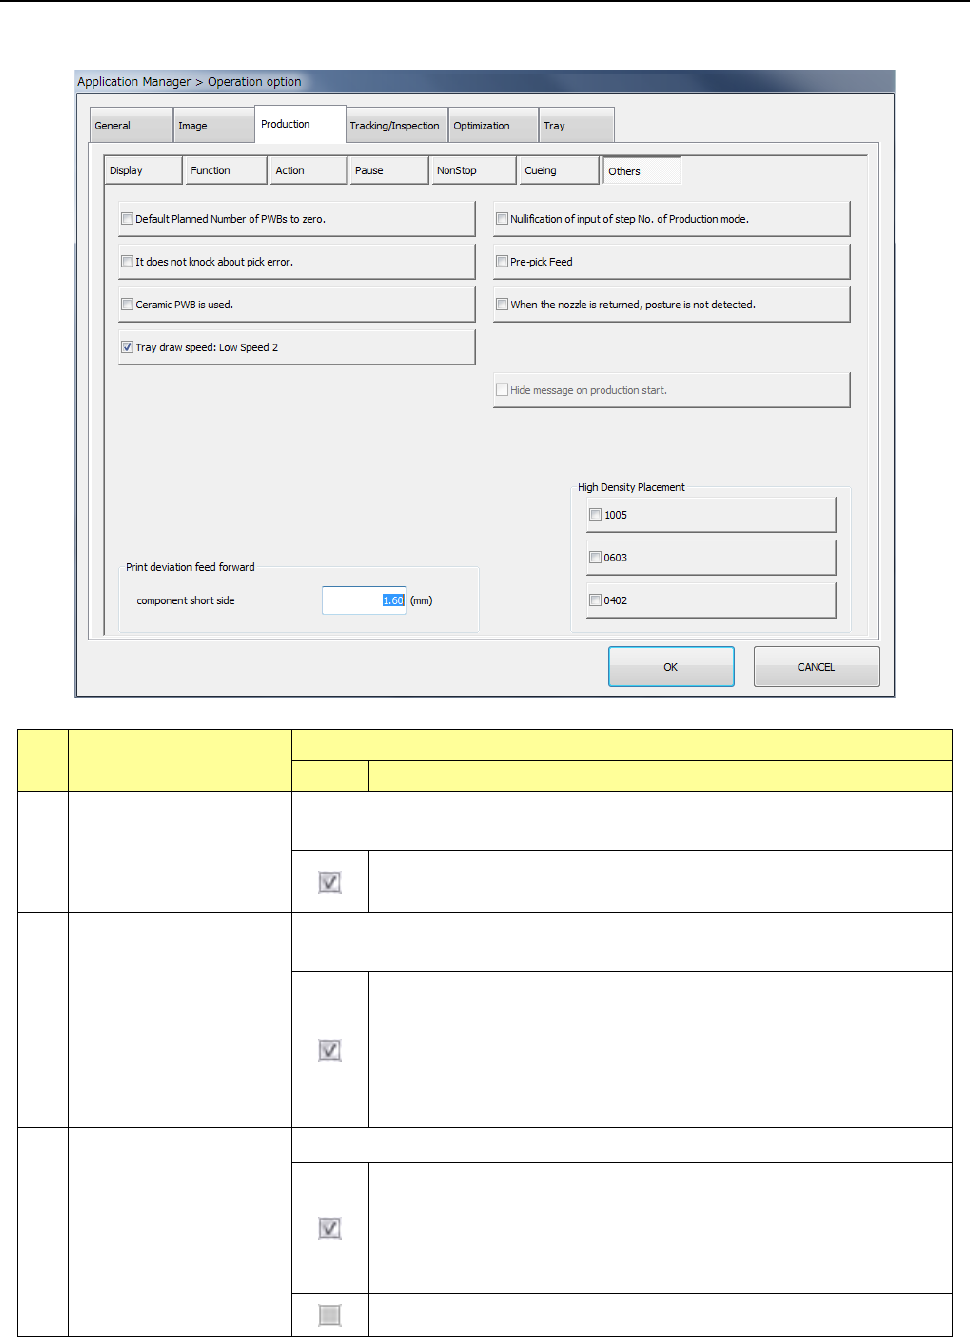
7.4.7 Others
When you press the <Others> button, the “production other option setting screen” appears.
No. Menu item
Description
Status Operation and detailed explanation
1
Default planned number
of PWBs to zero.
Specify a function to set the default value of the scheduled number of PWBs
produced to 0.
The default value of the scheduled number of PWBs to be produced is
set to 0.
2
Nullification of input of
step No. of production
mode.
Specify a function to disable the input of both start line and end line about the
step No, setting on the production condition screen.
The input of both start line and end line about the step No. setting on
the production condition screen is disabled. In this case, the
placement range is from step 1 to the last step. If the number of
placement points is changed by editing placement data, it is
incorporated automatically into the end line. (PWB production and dry
run production are intended but test run is not intended.)
3
It does not knock about
pick error.
Specify a function to feed components regardless of picking enabled or disabled.
The tape feed timing is changed about components for which the
number of pickup retries of the component data additional information
is set to “0”. The tape is fed after making sure that the existence of a
component is checked by laser after a component is picked up and the
component can be normally picked up.
Components are fed regardless of picking enabled or disabled.
Part 2 Detailed Description of Each Function Chapter 7 Operation Option
7-24
No. Menu item
Description
Status Operation and detailed explanation
4
Pre-pick feed
Specify a function to perform a feed knock immediately before component
picking. This item can be selected when “Knock before pick” of the “MS
parameter” knock option is effective.
A feed knock is performed immediately before component picking.
When this function is enabled, the “feed setting immediately before
picking for each feeder” of function setting can be selected and a
setting can be performed.
5
Ceramic PWB is used.
Specify whether to use ceramic PWBs.
Ceramic PWBs are used.
6
When the nozzle is
returned, posture is not
detected.
Specify a function to detect the nozzle return posture.
The return posture of the nozzle is not detected.
7
Tray draw speed:
Low Speed 2
Specify whether “Low Speed 2” can be applied as the tray draw speed.
“Low Speed 2” can be selected.
8
Hide message on
production start.
Specify whether to perform the pre-pick feed at the production start.
This item can be selected when “Pre-pick Feed” is effective.
The message that prompts you to select the pre-pick feed “Yes” or “No”
is not displayed at the production start. The pre-pick feed is not
operated in the first pickup and the pre-pick feed is operated from the
second pickup.
9
High-density placement
Specify whether to perform production operation in a certain simultaneous pick
enable range in the case of standard production operation. Set each of 1005,
0603, and 0402.
The simultaneous pick enable range varies depending on the
component size. For very small components, the simultaneous pick
enable range is narrow and components are picked up in a position
close to the pick coordinates of the pick data. If the nozzle protrudes
from the mold section at picking, a pick offset error occurs. This
prevents a contact between the nozzle and the adjacent component at
placement.
Standard production operation is performed. Production operation is
performed in a certain simultaneous pick enable range.
10
(Print deviation feed
forward)
Component short side
Set the length of the short side of the maximum component size to which the
print offset feed forward is applied. This cannot be selected when the print
offset feed forward is not set in the machine setup.