RS-1_instruction manual.pdf - 第129页
Part 1 B asic O peration Chapter 2 Pr oduction 2- 18 When you se lect the <Y es> button, t he “Automatic c onveyor w idth adjust ment” screen ap pears. The <Move> button a llows you to adjust the conveyor wid…
Part 1 Basic Operation Chapter 2 Production
2-17
2.5 Pass-Thru Mode
Use this command when you transport a PWB through this machine as a PWB transportation buffer
without producing any PWB.
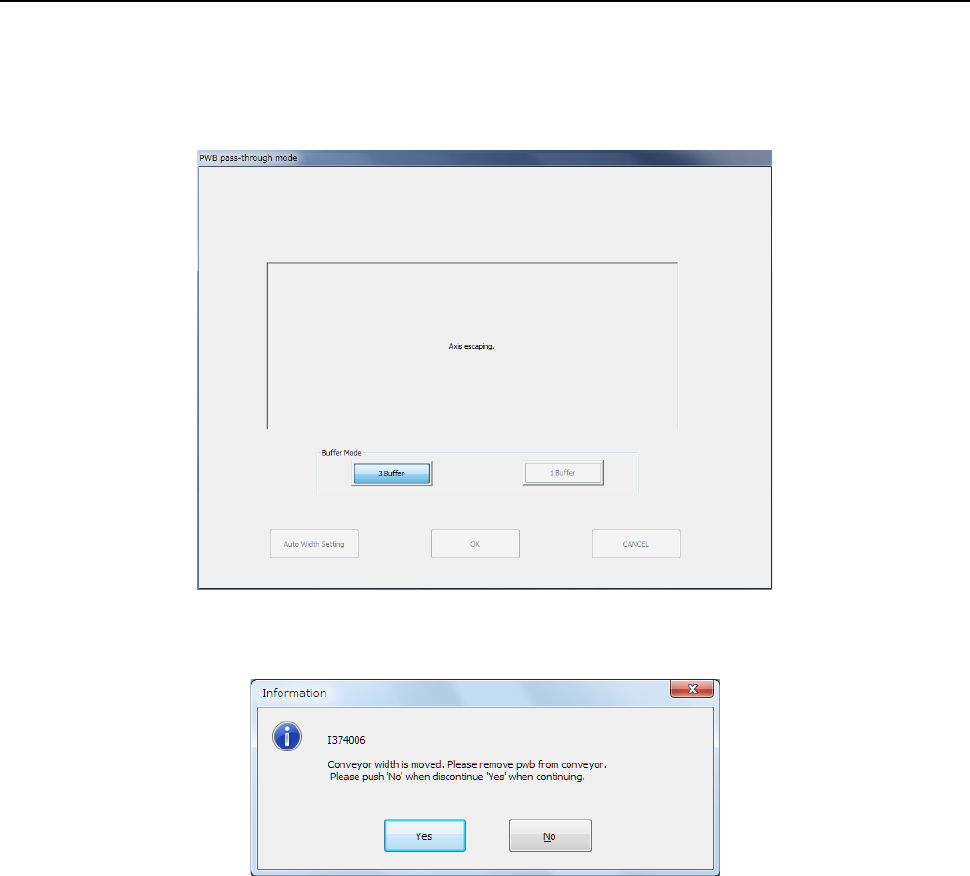
When you select the “Product” button command from the menu of the main screen, then the
[Pass-Thru Mode] command, the following screen appears to move back all axes if the return to
origin operation was performed already.
After all axes are moved back to the safe areas, the “Information” dialog box that asks you whether
to change the conveyor width.
Part 1 Basic Operation Chapter 2 Production
2-18
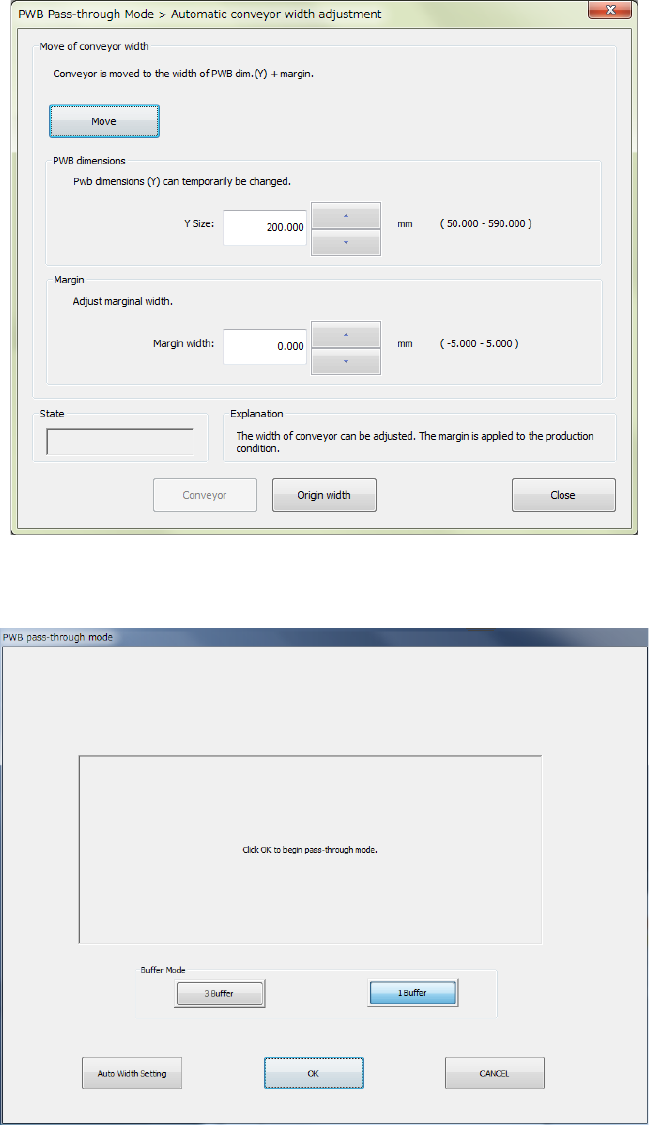
When you select the <Yes> button, the “Automatic conveyor width adjustment” screen appears.
The <Move> button allows you to adjust the conveyor width.
After you adjust the conveyor width, or after you press the <No> button on the “Information” dialog
box, the Pass-Through mode start screen appears.
When you click a desired buffer mode from between <3 Buffer> and <1 Buffer> and click the <OK>
button, the following screen appears, and the conveyor belt starts rotating when a PWB reaches the
sensor of the conveyor.
When you select the <Auto Width Setting> button, the “Automatic conveyor width adjustment”
screen appears to allow you to change the conveyor width.
Part 1 Basic Operation Chapter 2 Production
2-19
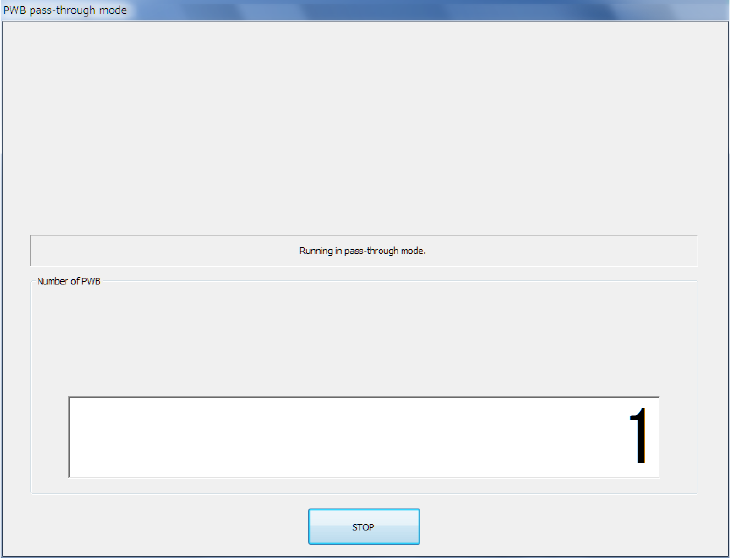
- Pass-through mode
When you click the <STOP> button, the Pass-Through mode is terminated, and the current screen
is switched to the Pass-Through mode start screen. In this case, if you start Pass-Through mode
again, the number of PWBs that have passed through is accumulated.