RS-1_instruction manual.pdf - 第747页
Part 2 D etaile d Descript ion of E ach Functi on Chapter 8 Machine Set up 8- 39 Pre - pi ck feed set ting W hen yo u sel ec t “ Pre - pick feed setting ”, t he followi ng screen a ppears. W hen “ Pre - pick fe ed ” of “…
Part 2 Detailed Description of Each Function Chapter 8 Machine Setup
8-38
Offset Placement After Solder Screen-Printing
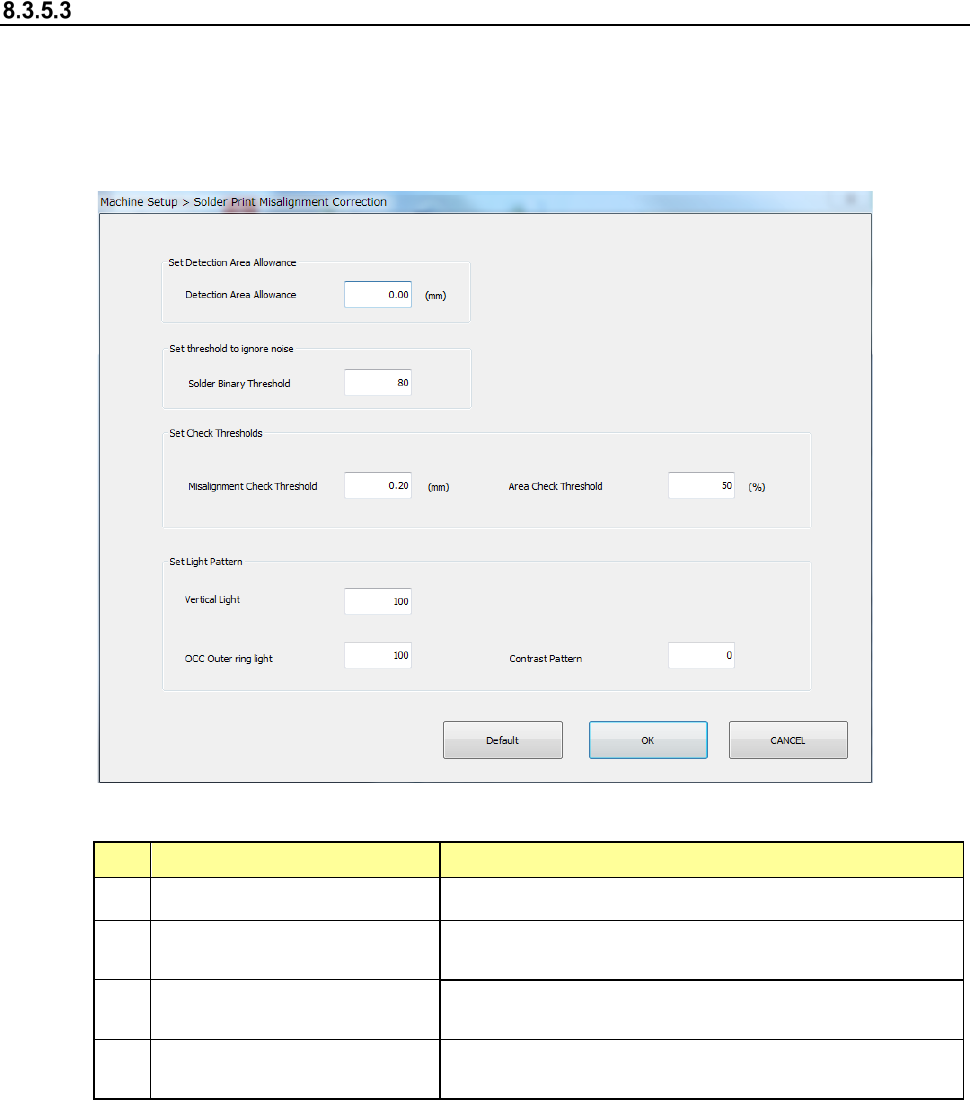
Select Solder Print Misalignment Correction and the following screen appears.
If you enable the “Offset Placement After Solder Screen-Printing” check box on the “Head” tab of
the “Device enable” screen invoked from the “Machine Setup” screen when the optional function,
“Solder printing” is enabled, set the parameters relating to correction of the component placement
position that is applied to solder screen-printing.
(1) Setting items
No. Setting item Description
1
Set Detection Area Allowance Sets the offset value of the detection range.
2 Set threshold to ignore noise
Sets the default value of the binary threshold default
value during solder teaching.
3 Set Check Thresholds
Sets the default value during teaching for solder
misalignment and area threshold used to check.
4 Set Light Pattern
Sets the default value of the light pattern during
teaching.
(2) How to set
1) Use the edit box to set detection area allowance, solder binary threshold, misalignment
threshold, area threshold, vertical light, OCC outer ring light and contrast pattern.
Part 2 Detailed Description of Each Function Chapter 8 Machine Setup
8-39
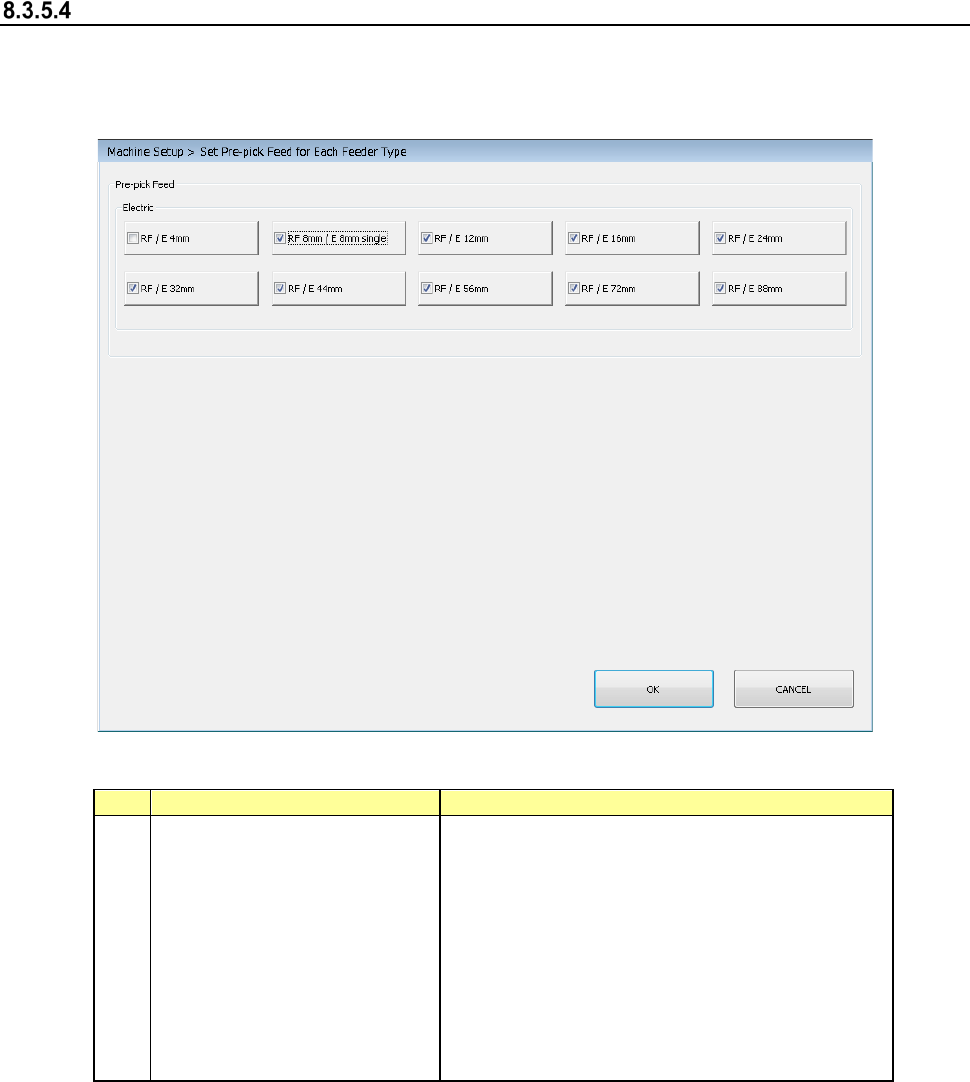
Pre-pick feed setting
When you select “Pre-pick feed setting”, the following screen appears.
When “Pre-pick feed” of “Production – Others” in operation options is enabled, set the parameters
related to the pre-pick feed setting for each feeder type.
(1) Setting items
No.
Item
Description
1
Electric feeder
- RF 4 mm /
- RF 8 mm / E 8 mm S
- RF / E 12 mm
- RF / E 16 mm
- RF / E 24 mm
- RF / E 32 mm
- RF / E 44 mm
- RF / E 56 mm
- RF / E 72 mm
- RF / E 88 mm
Set a feeder type for a pre-pick feed.
(2) How to set
1) Select a feeder type for a pre-pick feeder by check box.
Part 2 Detailed Description of Each Function Chapter 8 Machine Setup
8-40
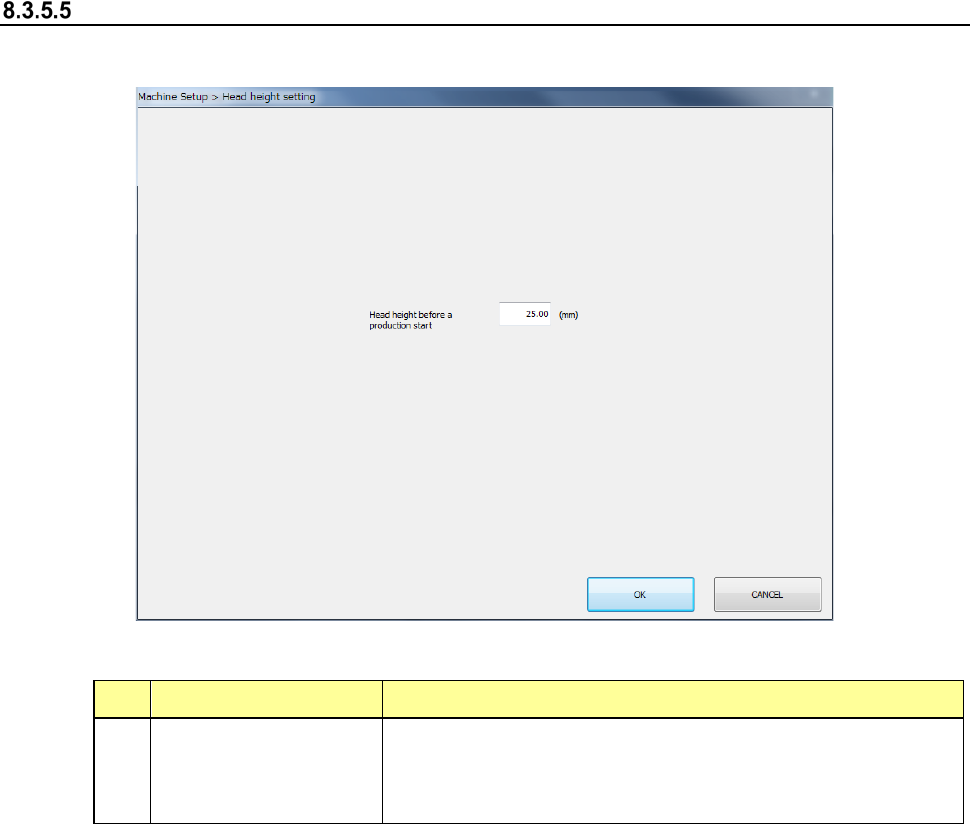
Head height setting
When you select [Head height setting], the screen shown below will appear.
(1) Setting items
No. Item Description
1
Head height before a
production start
Set a height that allows the head to move down during
production.
The head (ZA-axis) move to a height higher than the height
you have set in this setting item, and then the production starts.
(2) How to set
1) Enter a height value in the edit box directly.