RS-1_instruction manual.pdf - 第515页
Part 1 B asic O peration Chapter 4 Cr eating a Produc tion Progra m 4- 180 ② T each ing with WI NDOW When you obta i n the c oordinat es with the bo x window , select the <WIN DOW> but ton. The cross hair cursor is…
Part 1 Basic Operation Chapter 4 Creating a Production Program
4-179
3) Teaching Point
Point Overview
POINT1 The coordinates to be taught are those of the current position.
POINT2 The coordinates to be taught are those of a point midway between two teaching points.
POINT3 The coordinates to be taught are those of a point midway among three teaching points.
WINDOW
The coordinates to be taught are those of the center of the cursor that was used to teach
the coordinates of the upper left corner and those of the lower right corner of the window
cursor.
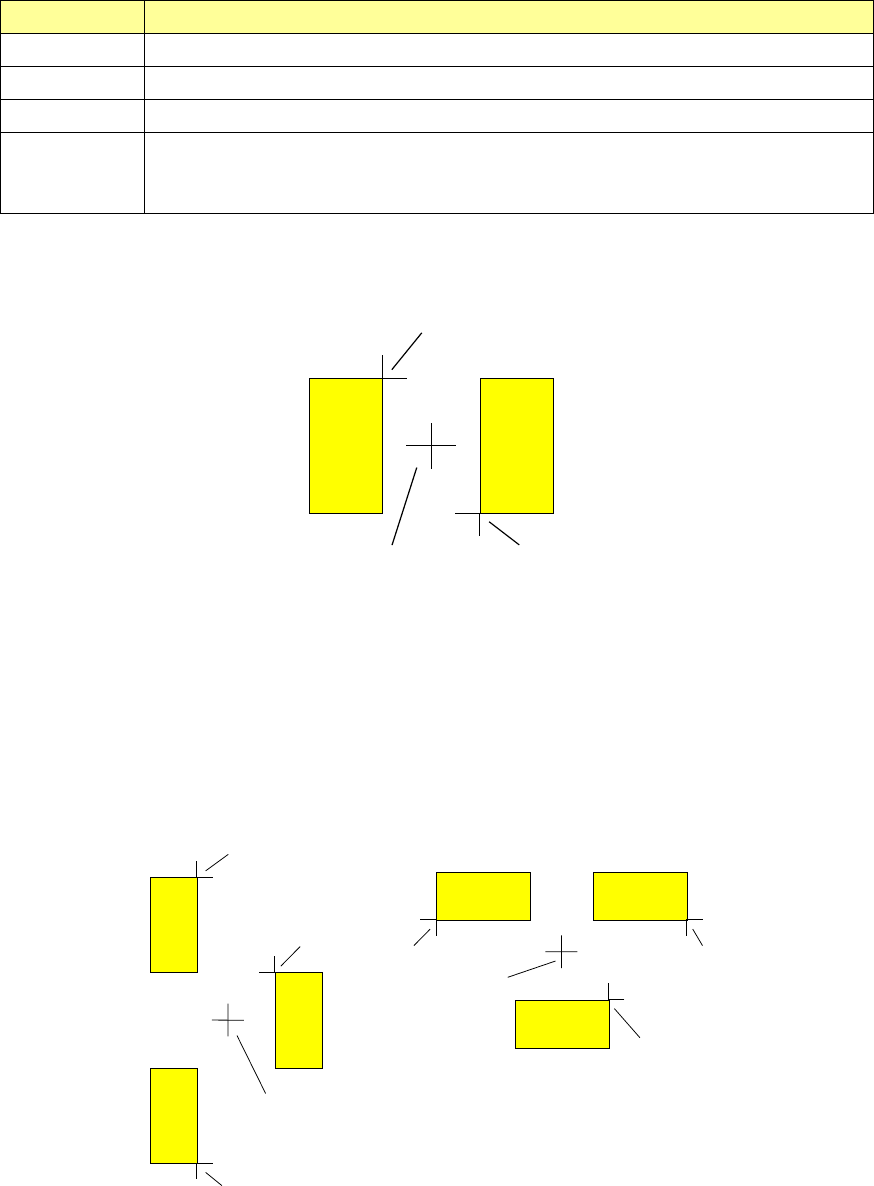
① How to teach the “POINT2” or “POINT3”
a) How to teach coordinates with POINT2
A
BC
Enter the two points, A and B in the figure above, and determine the middle point (point C) of
these two points A and B to handle the coordinates of the point C as the taught coordinates.
b) How to teach coordinates with POINT3
Enter three points A, B and C, and handle the coordinates of a point D as the taught
coordinates.
(The X coordinate of the point D should be the midpoint between the point A or B and the
point C, and the Y coordinate should be the midpoint between the points A and B.)
B
A
C
D
C
B
A
D1
Pad of a PWB
Part 1 Basic Operation Chapter 4 Creating a Production Program
4-180
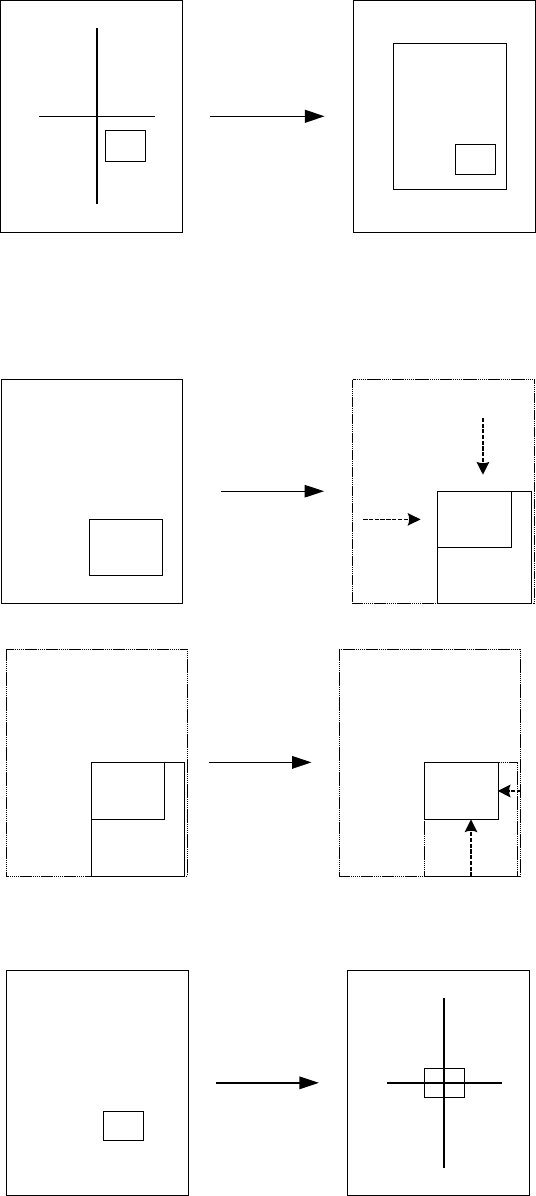
② Teaching with WINDOW
When you obtain the coordinates with the box window, select the <WINDOW> button.
The cross hair cursor is switched to the window cursor.
Normally, the crosshair cursor is displayed. Window cursor
Move the top side, left side, bottom side and right side of the window frame with the axis
drive keys for the X- and Y-axes. First of all, move the top side and the left side, and press
the <OK> button.
Next, move the bottom side and the right side, and press the <OK> button.
When you press the <OK> button after moving the bottom side and right side, the camera
moves so that the center of the box window can be aligned with that of the previous
crosshair cursor, and then, the cursor changes from the box window to the crosshair cursor.
The coordinates of the current position to which the camera moved are displayed in the “X”
and “Y” text boxes.
When you press the <OK> button at this point, the coordinate values are obtained.
Select the
<WINDOW>
button.
Part 1 Basic Operation Chapter 4 Creating a Production Program
4-181
4) Light value setting
You can change the brightness of the light installed on the camera that is being used
currently with the light setting.
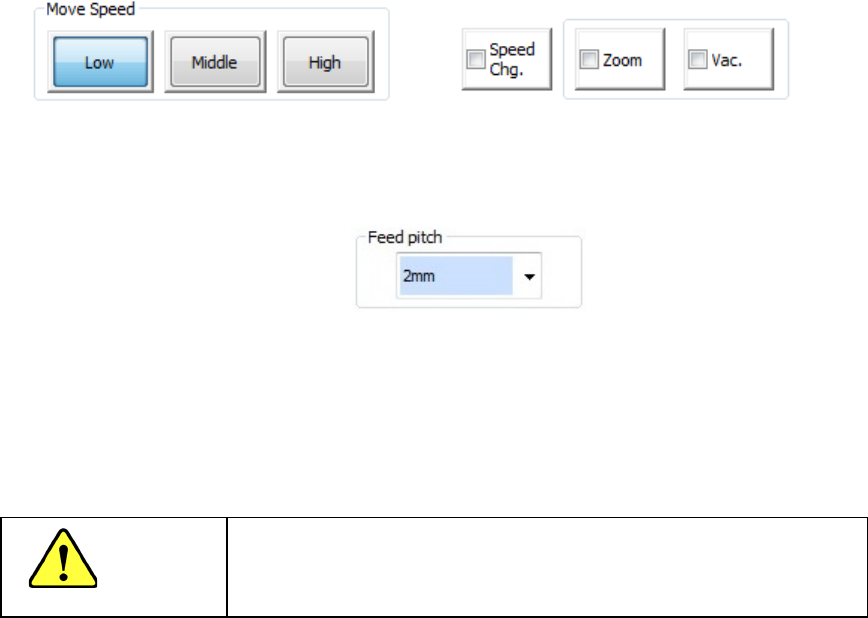
5) Move Speed
You can select the speed at which the axes move among the low speed, the middle speed
and the high speed with selecting the corresponding button: <Low>, <Middle> or <High>.
When you check off the “Speed Chg.” check box, the axis moving speed is accelerated after
it continues to move for a certain period of time.
6) Feed pitch
Set a value when you want to change the feed pitch of the electric feeder. You can select
the feed pitch that can be set for the electric feeder during teaching.
The image shot with the selected camera is displayed on the teaching screen for a camera.
When you touch the frame of the image shot with the camera, the XY axes move in one of
eight directions depending on which frame you touch. The color of the screen frame you
touch changes to light blue, and the axes continue to move while you are touching the frame.
The current coordinates, X and Y, of the camera are displayed in the “X” and “Y” text boxes.
CAUTION
To avoid a risk of injury, do not put your hands inside the machine
or move your face or head close the machine while the system is
teaching data.